Energy-Efficient Roofing in Texas: Cool Roofs, Color, Ventilation, and Materials
May 29
Planning a new roof installation near you? Learn the step-by-step process DFW homeowners can expect before, during, and after shingle installation day.
If you are searching “roof installation near me,” you are probably close to making a decision. Maybe insurance approved your claim. Maybe your old roof is worn out. Maybe you are upgrading before selling your home.
Either way, it helps to know what actually happens when a roofing crew shows up.
A good roof installation is organized, predictable, and documented. Here is what DFW homeowners can expect before, during, and after a new asphalt shingle roof installation.
Before materials arrive, your contractor should confirm:
This is the time to ask questions. Once shingles are delivered and the crew is scheduled, changes can delay the project.
Roofing materials are usually delivered before installation day. The supplier may place shingle bundles on the roof or driveway depending on roof pitch, access, and safety.
Make sure vehicles are moved before delivery. Shingle bundles are heavy, and the delivery truck needs space.
Materials typically include:
Your contractor should verify the color and product before installation begins.
Before tear-off starts, the crew should protect the property.
This may include:
Roof replacement creates falling debris. Good property protection prevents damage and makes cleanup easier.
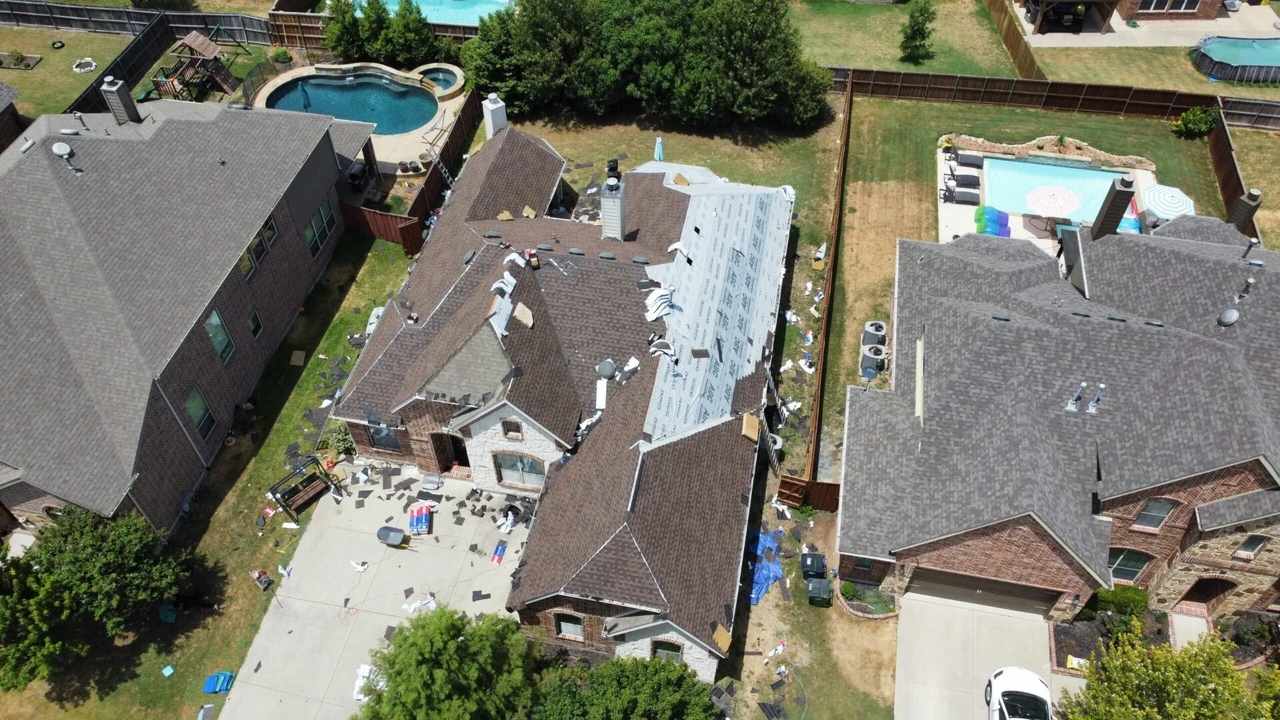
The old roofing material comes off first. Crews remove shingles, old underlayment, nails, and damaged accessories.
During tear-off, the roof is opened down to the decking. This is when hidden problems become visible.
Common findings include:
Your contractor should show photos if additional work is needed.
New shingles need solid decking underneath. Installing over rotten or soft wood can cause leaks, nail failure, and uneven roof surfaces.
Any damaged decking should be replaced before underlayment goes down.
Ask your roofer to document:
This is especially important for insurance jobs where decking may need to be supplemented.
Once the deck is ready, the roof system starts going back together.
Crews install:
These details are not very visible from the ground, but they matter. They help shed water and protect edges where wind-driven rain can work under shingles.
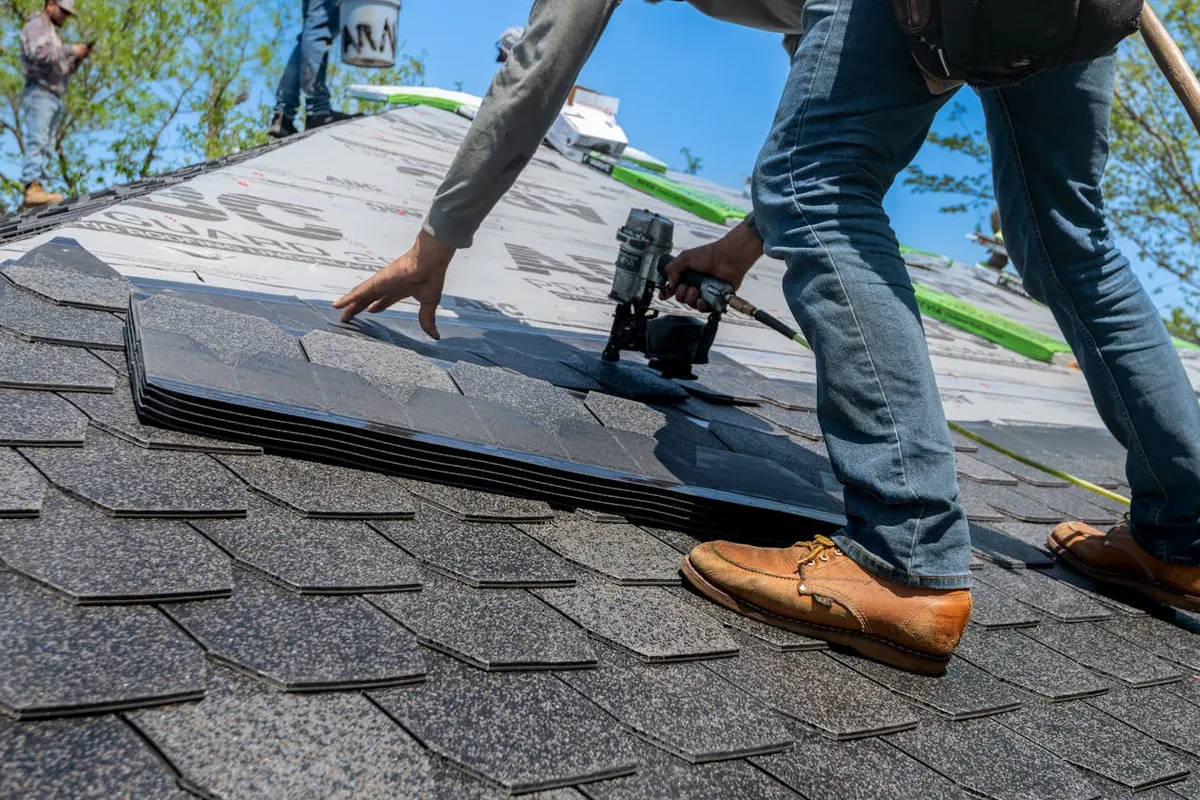
Shingles are installed from the bottom of the roof upward. Proper nailing is critical.
A good installation follows manufacturer requirements for:
Improper nailing can reduce wind resistance and void warranty coverage.
During installation, the crew also installs or replaces:
This is where many future leaks are prevented. Old cracked pipe boots or reused damaged vents do not belong on a new roof.
After installation, the crew should clean the site thoroughly.
Expect:
Walk the property before the crew leaves if possible. Check driveways, patios, landscaping beds, and side yards.
Most residential asphalt shingle installations in DFW take one to two days once work begins.
Factors that can add time:
A fast job is not the goal. A clean, correct installation is.
Before installation day:
Roof installation is loud. Planning ahead makes the day easier.
Planning a roof installation near you? Good Work Roofing installs asphalt shingle and impact-resistant roof systems across McKinney, Plano, Frisco, Allen, and DFW.
Schedule your free installation estimate or call (214) 836-4511.
Get roofing tips delivered to your inbox
Contact our roofing experts for a free consultation and quote.